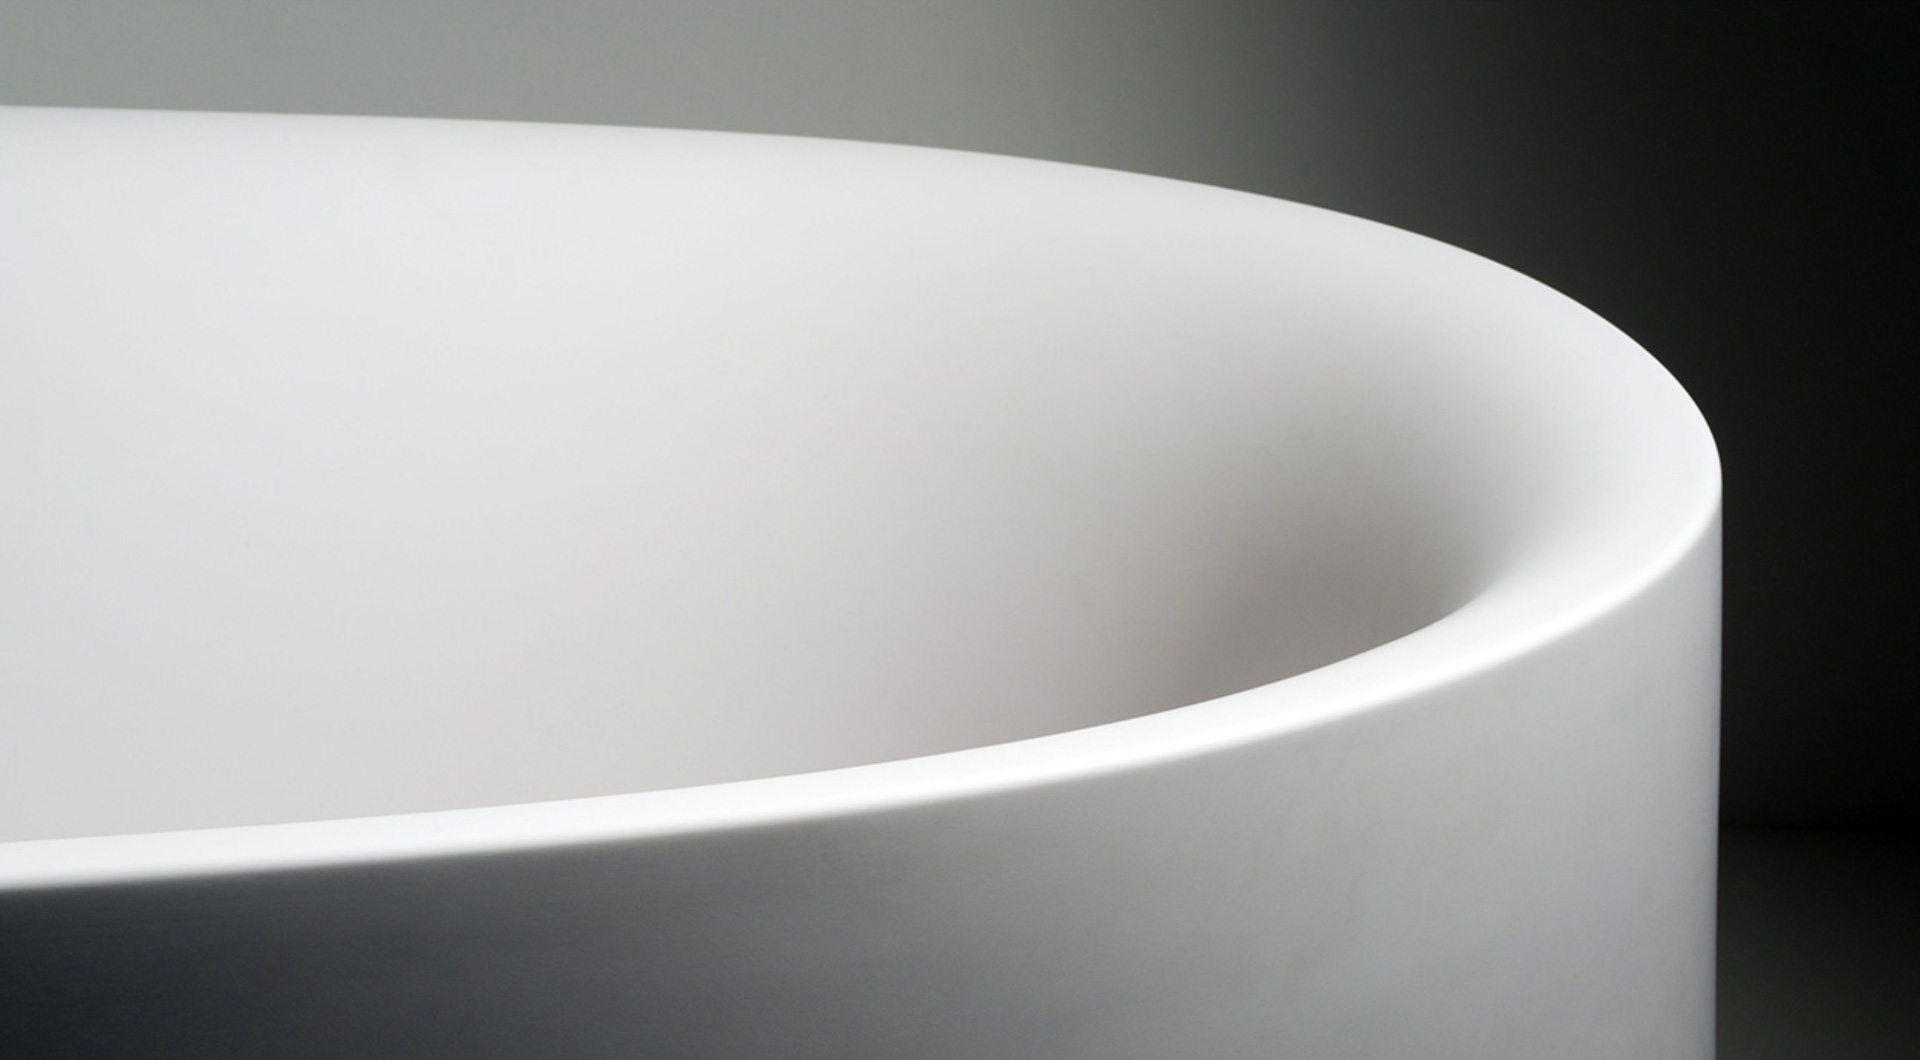
Cristalplant® is a homogeneous material throughout its thickness and scratches, stubborn stains and cigarette burns can be repaired, restoring the surface to its original beauty.
Ordinary maintenance of Cristalplant®
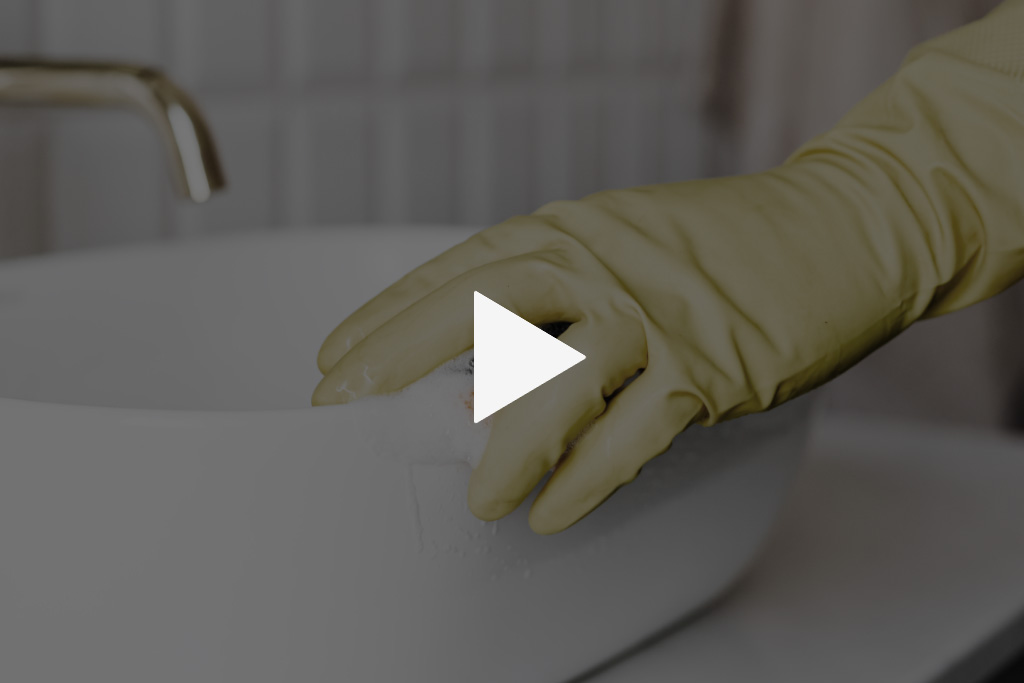
Taking care of Cristalplant® is quick and easy: just clean it with soapy water or common detergents, in order to remove most of the stains and dirt that can deposit on its surface.
Using an abrasive sponge such as Scotch-Brite®, gel or abrasive detergents are recommended, taking care to rinse the surface immediately: it will therefore be possible to maintain the matt finish, characteristic of Cristalplant®.
Removal of scratches and stubborn stains
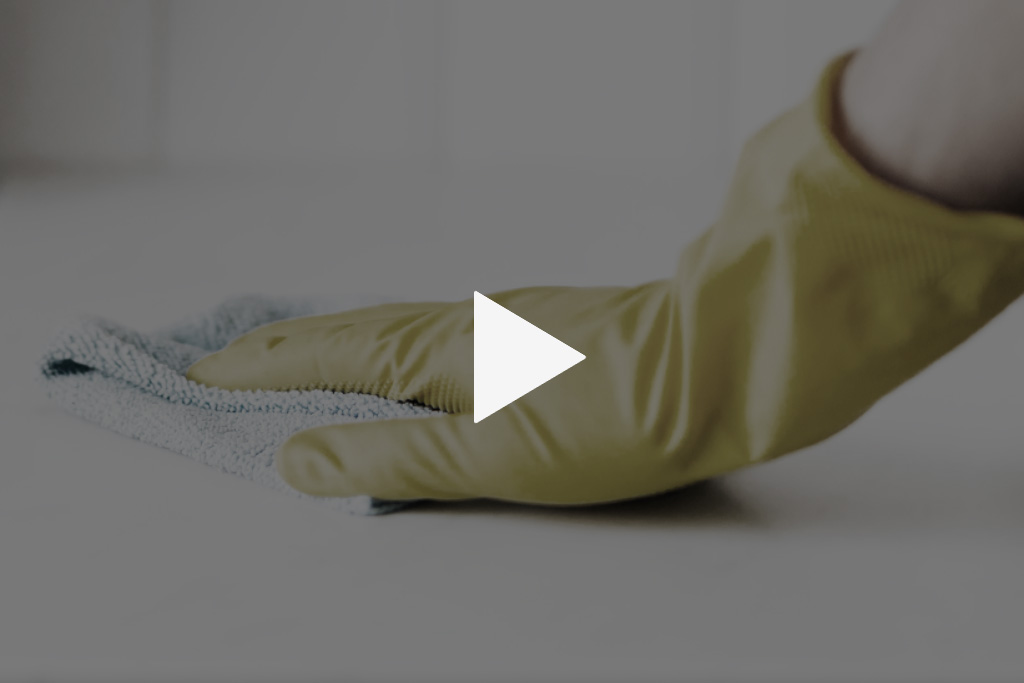
For minor damage it is possible to restore the surface using a Scotch Brite® abrasive sponge or a common abrasive cleaner, smoothing the damaged part in particular. If the defect is still visible, go over it by sanding with very fine sandpaper.
Cristalplant® has good resistance to stains in general, but some substances – such as ink, cosmetics, burns from cigarettes and hair dyes – in prolonged contact with the material can release dyes on the surface, which can still be removed following the instructions in the video on the side.
Products suitable for Cristalplant®
Products NOT suitable for Cristalplant®
Extraordinary maintenance
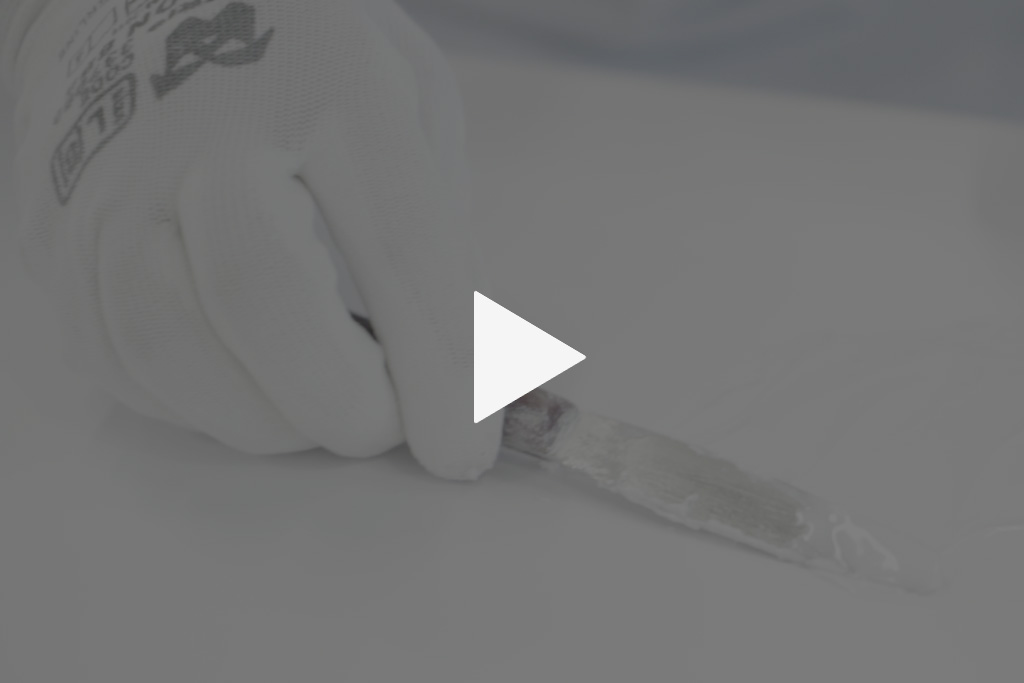
This section is dedicated to solving serious damage that can only be repaired by technicians, who may ask for the maintenance kit from the reseller of the Cristalplant® product to be repaired.
This kit, in fact, cannot be requested from this website as Nicos International Spa, producer of Cristalplant®, does not sell any product directly and has no distribution or service centres as it is an exclusive supplier of OEM/B2B industries.
step 1
With a cotton cloth soaked in denatured ethyl alcohol, carefully clean the damaged surface and the surrounding area, in order to remove dust and stains
step 2
Using a stainless steel spatula, mix thoroughly the putty and catalyst provided in the maintenance kit until the liquid is completely dispersed. Important note: use the whole of the two components, because if the wrong doses of catalyst are used, you risk obtaining a yellow colour (with too much catalyst) or insufficient hardening (with not enough catalyst)
step 3
Apply the putty on the damaged part and the one immediately surrounding it, taking care to spread the putty a little at a time inside the defect, in order to let the air out. A stucco relief must be obtained over the defect and the part immediately surrounding it
step 4
Leave the stucco to harden for at least 12 hours at an ambient temperature of at least 15°C. To speed up the catalysis start, obtaining a faster hardening, it is possible to use a hot air generator – such as a hairdryer – making it sufficient to wait 4-5 hours before removing the excess stucco
step 5
The stucco must be removed with abrasive paper (220 grit). If a lot of excess stucco has been applied, we recommend you use an electric sander with 120 grit and then 220 grit paper to finish the surface. The surface must be smoothed evenly, also including the surrounding part to avoid any differences and hollows
step 6
After removing the stucco, eliminate the dust formed and clean with commonly used detergents and the Scotch Brite® sponge included in the kit

Discover the material
Ocritech® is our hi-tech material that is receiving great interest both in Italy and abroad.
View the products
A selection of products distributed by our partners, and designed in collaboration with the technical departments of our customers.
Request information
We are available for any request. We will respect your privacy and will not sell or transfer your personal data to third parties.


